How do you turn a regular plastic bin into an airtight filament container?
1. Don’t Toss That Bin Just Yet
Got a plastic bin sitting around? Maybe one that doesn’t seal quite right?
You don’t have to buy a new dry box just yet.
With a few tweaks, you can turn almost any plastic container into a DIY airtight filament storage solution.
Here’s how.
2. Why Airtight Storage Matters for Filament
Moisture = stringing, bubbles, poor adhesion, and failed prints.
That’s why filament storage needs to:
- Seal tightly
- Keep humidity low
- Prevent temperature swings
Even a small air leak can let in enough moisture to ruin a spool over time.

3. Can Any Plastic Bin Work?
Mostly yes—as long as it’s rigid, clean, and closable.
Avoid:
❌ Warped lids
❌ Bins with missing hinges
❌ Containers that flex easily when closed
Look for bins that already come with latching lids and flat edges.
4. Tools and Materials You’ll Need
| Item | Purpose |
|---|---|
| Plastic storage bin | Base container |
| Weatherstripping tape | To create a gasket seal |
| Desiccant packets | Moisture absorption |
| Humidity card or hygrometer | RH tracking |
| Optional: drill + grommet | For filament feed port |
| Optional: foam dividers | Prevent spool shifting |
Everything can be found at a local hardware store or online.
👉 Build Your Own Airtight Filament Storage Setup:
Weatherstripping Foam Tape
Reusable Silica Gel Desiccant Packs
Mini Digital Hygrometer

5. Step-by-Step Guide: Seal It Tight
Let’s walk through the exact steps.
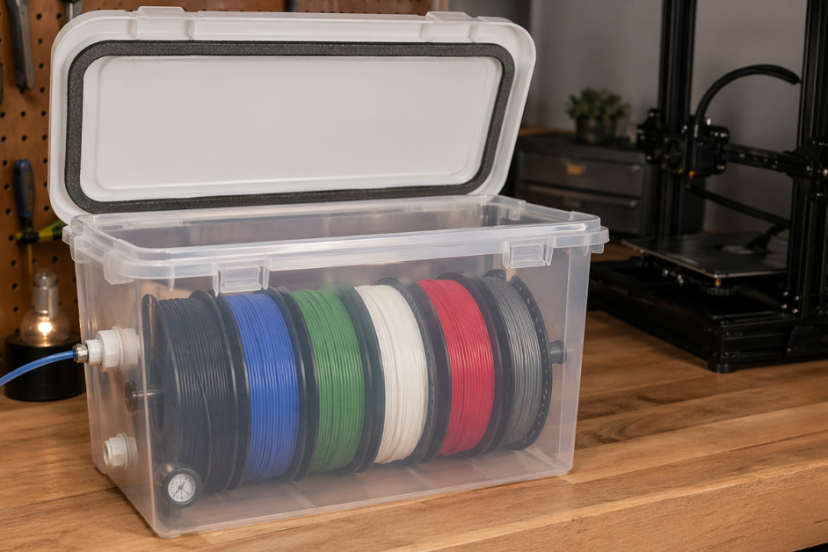
6. Step 1: Choose the Right Bin
Pick a bin that:
✅ Holds 3–6 spools
✅ Has a flat lid with tight latches
✅ Is rigid enough to support stacking
✅ Leaves space for silica and sensors
Good examples: Sterilite, IRIS, Hefty, or Rubbermaid plastic bins.
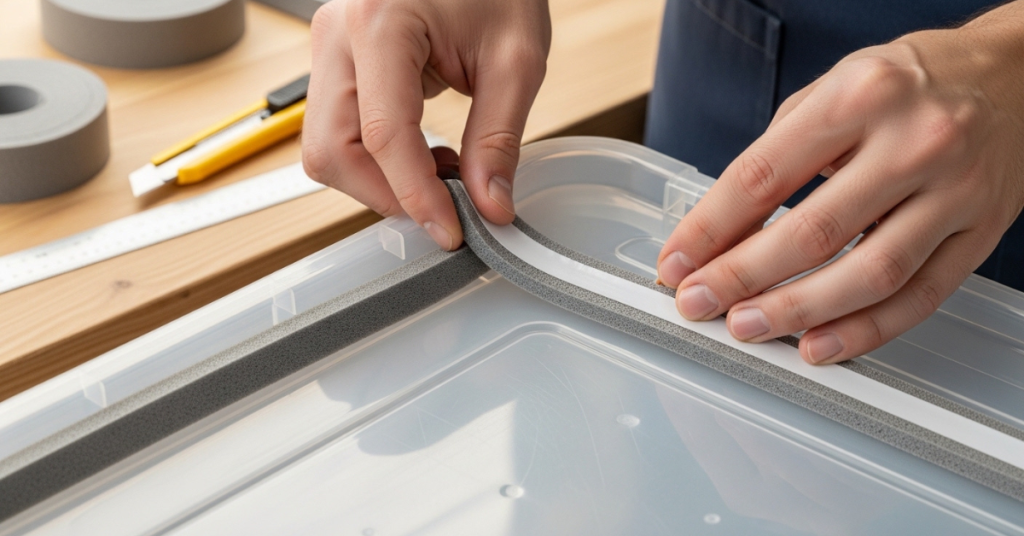
7. Step 2: Add a Gasket Seal
Use adhesive weatherstripping foam (¼” thick) and apply it around the underside of the lid.
Tips:
- Clean the lid edge with alcohol first
- Press the foam firmly along the rim
- Make sure the foam meets at the corners with no gaps
- Close the lid and test pressure—there should be resistance
This creates a DIY gasket that keeps air and moisture out.
👉 Weatherstripping foam is one of the easiest and cheapest ways to turn a basic plastic bin into a functional airtight filament container:
👉 Check Weatherstripping Foam Tape on Amazon
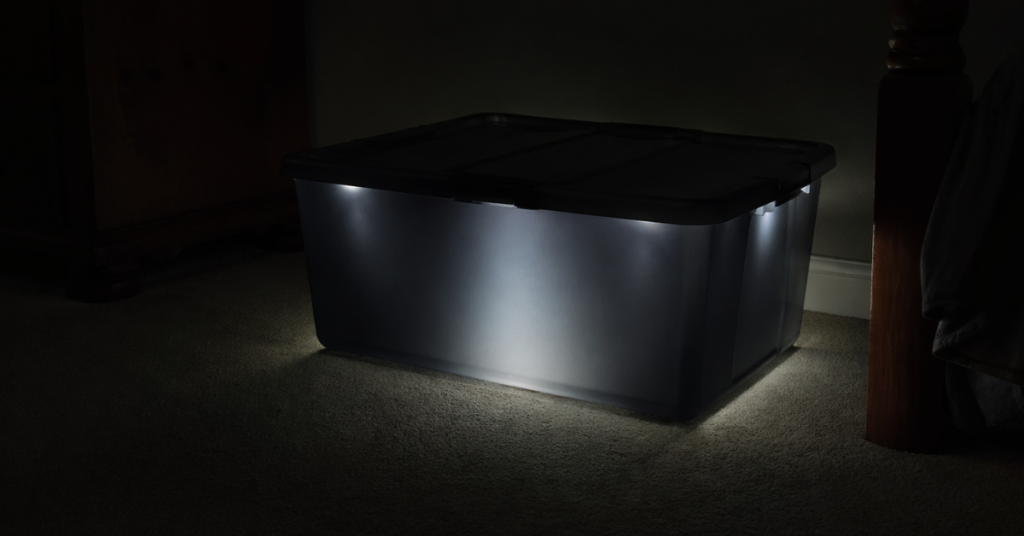
8. Step 3: Test the Seal for Air Gaps
✅ Place a lit flashlight inside the sealed bin in a dark room—check for light leaks.
✅ Press gently on the lid—does it “bounce back” a little from the gasket pressure?
✅ Add a humidity card and monitor over 24–48 hours for RH changes.
Small leak? Add extra foam tape or switch to silicone rubber gasket strips.
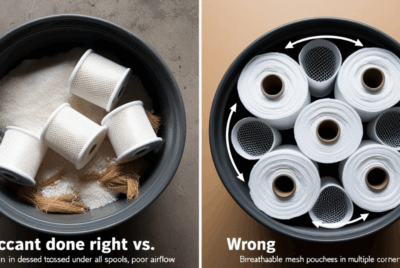
9. Step 4: Add Desiccant and Humidity Tracking
Now keep things dry inside.
- Use color-changing silica gel packs
- Place them in the corners or bottom
- Drop in a humidity indicator card or mini digital hygrometer
- Recharge desiccant every 2–4 weeks
💡 You can also use rechargeable dehumidifier packs for long-term setups.
👉 Monitoring humidity is just as important as sealing the bin itself:
Reusable silica gel desiccant packs
Mini digital hygrometer
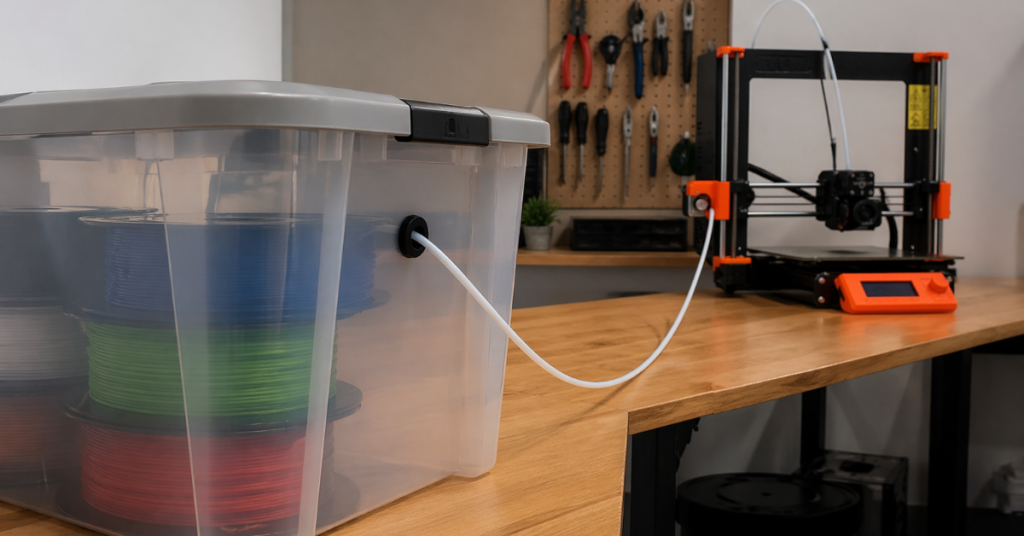
10. Optional: Add a Filament Feed Port
Want to print directly from the bin?
- Drill a ¼” to ½” hole in the side
- Insert a rubber grommet or 3D print a feed port insert
- Add a PTFE tube if needed to guide filament
- Seal edges with silicone caulk or weatherproof tape
This creates your own budget dry box.
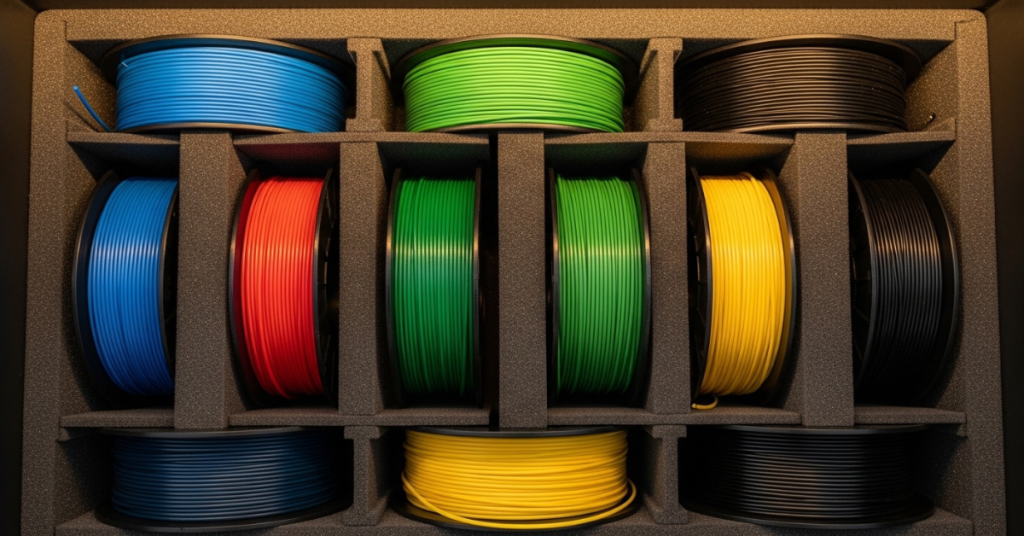
11. Bonus: Use Foam or Dividers to Protect Spools
To prevent spools from:
- Scratching each other
- Rolling around
- Pinching filament ends
Add:
- Foam floor tiles or yoga mat inside the base
- DIY cardboard or plastic dividers
- Velcro straps or bungee cords to hold reels upright
It’s not just about moisture—it’s about organization too.

12. Smart Add-Ons (Without Breaking the Bank)
| Add-On | Cost | Use |
|---|---|---|
| RH card | \$1 ea | Instant humidity check |
| ThermoPro TP49 | ~\$10 | Digital RH/temp |
| Rechargeable silica cans | ~\$8 | Long-term drying |
| PTFE feed tube + grommet | ~\$5 | Dry box printing |
| Label maker or masking tape | ~\$3 | Track dry/opened dates |
These upgrades turn your basic bin into a smart storage unit.
13. Real Examples from Makers Who DIY’d It
- A cereal container with a feed hole + gasket foam = dry box for daily PLA use
- A repurposed cat litter container lined with weatherstripping + hygrometer = 6-spool storage
- IKEA SAMLA bin + rubber seal strip + desiccant = stackable filament crate
Maker tip: Post your version on Reddit or Printables to inspire others!
14. Common Mistakes and How to Avoid Them
❌ Forgetting to check for leaks
❌ No desiccant or expired packs
❌ Using too soft a bin (lid doesn’t stay sealed)
❌ No humidity tracking
❌ Leaving spools loose inside to tangle or crack
DIY saves money—but only if you seal it right.
🔧 Upgrade Your DIY Filament Storage Container:
Reusable Silica Gel Packs
Weatherstripping Foam Tape for Airtight Seals
Vacuum Storage Bags
15. Final Thoughts: Airtight Doesn’t Mean Expensive
You don’t need to buy fancy dry boxes to protect your filament.
A \$10 bin + \$5 in supplies can give you:
✅ Reliable moisture protection
✅ Dry-box-style feeding (optional)
✅ Stackable storage
✅ Satisfaction of a successful DIY hack
Seal it. Track it. Store it like a pro.
❓FAQs
- Can I use any foam for the gasket seal?
Use closed-cell weatherstripping foam—open-cell will absorb moisture. - How do I know my DIY bin is airtight?
Do the flashlight test, and monitor RH with a humidity card or hygrometer. - Can I print directly from a DIY container?
Yes—just add a filament feed port with a grommet and optional PTFE tubing. - How often should I replace the desiccant?
Every 2–4 weeks or when your humidity indicator turns color. - Is this better than vacuum bags?
For frequent-use spools, yes. For long-term storage, vacuum bags win.