Is a Filament Dryer Worth It for Occasional 3D Printing?
1. The Dryer Dilemma for Casual Makers
So you’re not printing every day—maybe not even every week. But your curiosity’s been piqued: Do I really need a filament dryer?
The short answer? Maybe not.
The better answer? It depends—on what you print, where you live, and how much time you’re willing to risk on bad prints.
Let’s break it down.
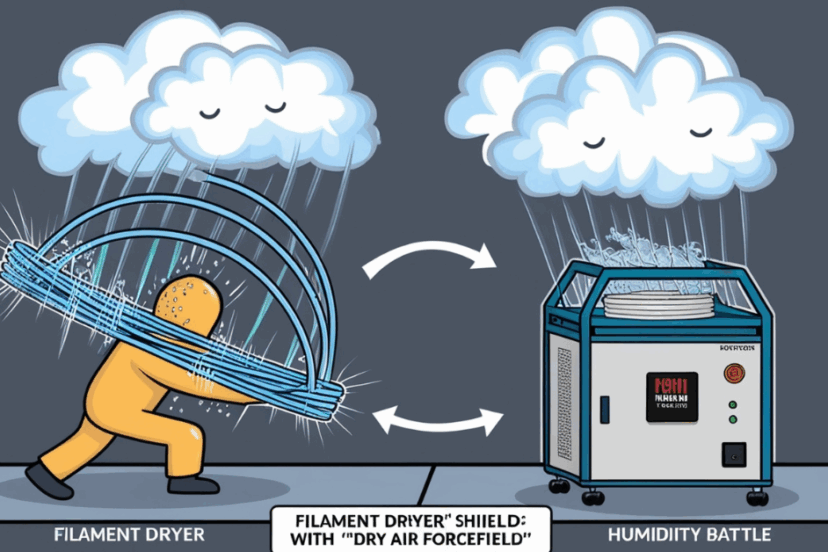
2. What Does a Filament Dryer Actually Do?
A filament dryer is a tool that removes moisture from 3D printer filament. Most use low, consistent heat and enclosed chambers to gently bake out water content from hygroscopic materials like PLA, PETG, Nylon, and TPU.
Many also allow you to print directly from the dryer, keeping the filament in a safe, dry state.
3. Who Needs a Filament Dryer (And Who Doesn’t)?
Need it:
- People in humid climates
- Nylon, TPU, or PETG users
- Makers who print large or functional parts
- Anyone who buys filament in bulk
Probably don’t need it (yet):
- Casual users printing PLA once a month
- Makers in dry climates with great storage setups
- Those who only print quick, small objects
4. Moisture Doesn’t Care How Often You Print
Here’s the catch—filament absorbs moisture whether you print or not. If it’s sitting out or stored poorly, it’s degrading.
So if you use your printer occasionally but store filament in a closet, garage, or desktop shelf without protection… yes, you may still need to dry it regularly.
5. Pros of Having a Filament Dryer
- 🔥 Improves print quality
- 💨 Reduces stringing, popping, and under-extrusion
- 🎯 Increases layer adhesion and strength
- 🔁 Restores old or exposed filament
- 🎮 Set-it-and-forget-it simplicity
For beginners, it eliminates the guesswork of: “Is this filament okay to use?”
6. Cons of Buying a Filament Dryer
- 💸 Cost – ranges from $40 to $150
- 📦 Takes up space
- 🕒 Takes time to dry filament (4–8 hours depending on type)
- ⚡ Uses electricity – though not much
Not a dealbreaker, but not nothing either—especially for hobbyists with tight budgets or limited space.
7. Can You Get Away Without One?
Absolutely. Here’s how:
- Use airtight bins with desiccants
- Vacuum seal your spools when not in use
- Dry filament in your oven (with care!)
- Only open one spool at a time
But fair warning—those methods aren’t as consistent or convenient as a purpose-built dryer.
8. When a Dryer Becomes a Game-Changer
If any of these sound like you, a filament dryer is 100% worth it:
- You print with Nylon or TPU
- You’ve wasted time on failed prints from old filament
- You live near the coast, or in a rainy/humid place
- You bought filament in bulk and only use it slowly
In these cases, a dryer pays for itself in saved prints and sanity.
9. Common Myths About Filament Dryers
| Myth | Reality |
|---|---|
| “I only print PLA, so I don’t need one” | PLA can absorb moisture too—especially in high RH |
| “It’s only for pros” | Casual users benefit just as much |
| “My filament is sealed—it’s fine” | Once opened, it starts absorbing moisture |
| “Oven drying is just as good” | It can work, but is harder to control and risks overheating |
10. Filament Types That Practically Need Drying
| Filament | Drying Required? | Notes |
|---|---|---|
| PLA | Yes (sometimes) | Gets brittle or stringy if moist |
| ABS | Yes | Benefits from occasional drying |
| PETG | Absolutely | Sensitive to moisture, bubbles when wet |
| Nylon | Always | Absorbs moisture very fast |
| TPU | Yes | Prints gummy and warped when moist |
| PVA | Always | Absorbs water fast, dissolves if not stored properly |
11. Top Filament Dryer Options on a Budget
| Product | Price Range | Key Features |
|---|---|---|
| SUNLU S2 | ~$60 | Affordable, fast, digital display |
| eSUN eBox | ~$50 | Basic but functional, can heat + store |
| PrintDry Pro | ~$130 | Holds multiple spools, great for heavy users |
| Polymaker PolyDryer | ~$100 | Consistent heating, good for PETG and Nylon |
If you’re not printing every day, SUNLU S2 is a great budget-friendly pick.
12. What to Look for in a Filament Dryer
- ✅ Adjustable temperature range
- ✅ Even heat distribution
- ✅ Built-in spool holder
- ✅ Timer or auto-shutoff
- ✅ Humidity display (optional but helpful)
- ✅ Ability to print directly from the box (bonus)
13. Alternatives to Buying One (DIY + Oven Tips)
DIY Method:
- Use a food dehydrator with modified trays
- Modify an airtight container with a heat mat
- Build a small heat chamber with a reptile heater and thermostat
Oven Method (Use with caution!):
- Preheat oven to 50°C (122°F)
- Place filament on a ceramic or metal tray
- Check temperature with a thermometer
- Bake 4–6 hours, depending on material
⚠️ Warning: Many ovens fluctuate in temperature and may go too hot. Test carefully.
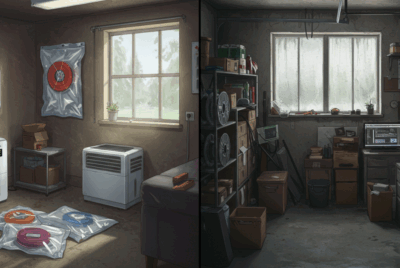
14. Storage Tips That Can Delay the Need
Don’t want to dry filament every week? Do this:
- Store opened spools in vacuum bags with desiccant
- Use airtight bins with a hygrometer
- Only open one spool at a time
- Keep unused filament in a cool, dark, dry place
These habits save you from drying too often—and extend your filament’s shelf life.
15. Final Verdict: Should You Buy One?
If you print often, live in a humid area, or use materials like PETG, Nylon, or TPU—a filament dryer is worth every penny.
If you only print occasionally and store your spools well? You can probably hold off—just be ready to DIY dry every now and then.
At the end of the day, it’s a small investment that can protect all your other investments: your filament, your time, and your sanity.
❓FAQs
- How long does it take to dry filament?
Anywhere from 4–12 hours depending on the material and moisture level. - Can I use a food dehydrator instead?
Yes! Many makers use modified dehydrators for drying filament. - Do dryers work for spools that have already gone “bad”?
They can restore mildly damp filament, but not filament that’s chemically degraded. - What temperature should I dry PLA at?
Typically 40–45°C (104–113°F). Always check the manufacturer’s specs. - Can I leave filament in the dryer long-term?
Yes—many models are built for that. Just keep an eye on your silica and temperature settings.