How should I label and track my filament in storage containers?
1. Introduction: Don’t Lose Track of Your Filament
Ever found a spool in your bin and thought:
“Wait… when did I dry this?”
“Is this PLA or PETG?”
“Was this used for something important?”
That’s why labeling and tracking your filament containers is key to a smooth 3D printing workflow.
2. Why Labeling and Tracking Matter
Without proper labels, you risk:
❌ Reprinting with brittle or moist filament
❌ Mixing up filament types
❌ Over-drying or forgetting to dry altogether
❌ Re-buying materials you already have
Good labeling = less waste, more efficiency.
3. Key Info You Should Always Label
For each container or spool, include:
- 🎯 Filament type (PLA, PETG, etc.)
- 🌈 Color name or code
- 🏷️ Brand + material line (e.g., eSUN PLA+, Hatchbox PETG)
- 🔄 Dry date (last dried or received)
- 💧 Humidity check date
- 💊 Desiccant recharge date
- ✍️ Notes (used for prototype, scrap-only, etc.)
Simple labels = smarter decisions.
4. Best Places to Attach Labels
| Location | Pros | Notes |
|---|---|---|
| Container lid | Easy to see from top | Great for bins |
| Front side | Visible when stacked | Works best for clear boxes |
| Inside lid | Hidden but safe | Add dry/due dates |
| On spool | Personalizes each reel | Use masking tape or print stickers |
Use permanent marker or write-on labels that won’t smudge.
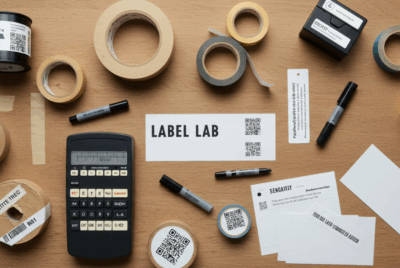
5. Labeling Options: Stickers, Tape, or Digital?
| Method | Pros | Best For |
|---|---|---|
| Masking tape | Cheap, flexible | Spools + bins |
| Chalkboard labels | Reusable | Clear bins |
| Label maker | Clean + uniform | Permanent setups |
| QR codes | Digital access to logs | Shared workspaces |
| Dry erase tags | Rewritable | Quick swaps |
You don’t need fancy tools—just something clear and consistent.
6. Color Coding for Quick Identification
Use colored tape or labels to represent:
- 🔴 PLA
- 🟢 PETG
- 🔵 ABS
- 🟡 Nylon
- 🟣 TPU
Or color-code by dry status:
- 🟢 Green = ready to print
- 🟡 Yellow = dry soon
- 🔴 Red = needs drying
This helps when scanning through multiple bins or spools.
7. Tracking Dry Dates and Reuse Cycles
💡 Add a “Dried On” and “Next Check” section on each label.
Rotate your filament based on:
- Last dried date
- Humidity card status
- Desiccant status
- Whether it’s opened or vacuum-sealed
Tip: Keep reusable spools in a “print first” section to reduce waste.
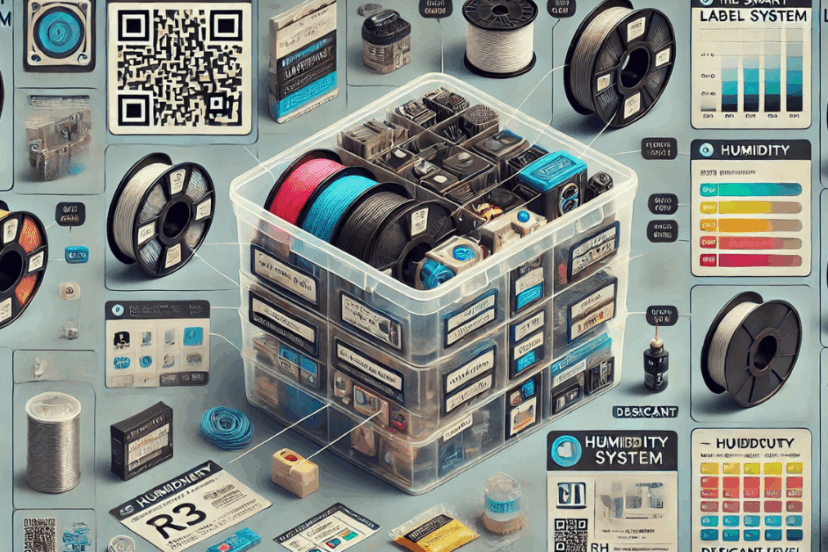
8. Should You Track Storage Temperature and RH?
Optional but helpful:
- Use a mini RH log for each bin
- Record average RH over time
- Add notes on temp swings if stored in garage/basement
This helps diagnose failed prints caused by storage—not slicer settings.
9. How to Track Desiccant Replacement
Label each container or card with:
- ✅ “Desiccant Added: [date]”
- 🔁 “Recharge Due: [2–4 weeks later]”
- 💬 Add indicator color (e.g. “Pink = recharge soon”)
This way, you won’t be guessing when the silica gel last got a spa day.
10. Tips for Labeling Vacuum-Sealed Filament
For vac-sealed bags:
- Write info on masking tape on the outside
- Add humidity card and a color-changing silica pack inside
- Optionally place a mini label inside the bag for backup
Label before sealing. Nothing’s worse than opening 5 bags just to find one spool.
11. Best Tools for Easy Filament Labeling
🛠️ Recommended gear:
- Permanent marker (fine tip)
- Masking tape or painter’s tape
- Label maker (Brother P-Touch or Dymo LetraTag)
- Reusable tags with binder clips
- Printable filament ID cards (customizable for brands/colors)
Bonus: Print your own tags using a 3D printer and blank inserts.
12. Using Apps or Spreadsheets for Inventory
Track filament like a pro:
- 📊 Use Google Sheets or Airtable to log spools
- 📱 Try Filamentory or 3DPrinterOS for inventory
- 🔄 Log use by weight or color
- ⏳ Track lifespan of opened spools
You can even add QR codes to labels that link to your digital log!
13. How to Create a Simple Labeling System
Keep it easy:
- Line 1: Material + Brand (e.g., PLA+, Overture)
- Line 2: Color + Spool weight
- Line 3: Date dried / opened
- Line 4: Status (Ready to use / Dry soon)
Print these labels or fill them in with a marker.
Simple, neat, effective.
14. Labeling Ideas for Shared or Multi-Printer Workspaces
In team environments:
✅ Use color-coded tags for assigned printers or users
✅ Add initials to each spool label
✅ Track usage history (project/date/weight used)
✅ Have a “label-before-store” policy so no one leaves things untagged
It reduces filament mix-ups and printing delays.
15. Final Thoughts: A Little Labeling Goes a Long Way
If you’ve invested in good storage…
You owe it to yourself to keep it organized and traceable.
✅ Label every bin and spool
✅ Track drying and RH status
✅ Use simple tools that you’ll actually stick with
✅ Don’t let “mystery filament” ruin a good print
Clear labels = clean prints. Every time.
❓FAQs
- What kind of tape is best for labeling filament spools?
Masking or painter’s tape is easy to write on and remove. Label maker tape is great for longer-term use. - How often should I update my labels?
Any time the filament is dried, moved, or used. Also, after desiccant swaps or RH changes. - Do I need to label every individual spool?
Yes—especially if you have multiple brands or materials in a single bin. - What’s the easiest way to keep track of when filament was dried?
Write the “Dried On” date directly on the label or use a mini calendar log taped to the bin. - Can I use QR codes or apps to track filament storage?
Absolutely! Many makers link QR labels to spreadsheets or inventory apps for easy scanning.