Post-Processing Techniques
As a passionate enthusiast in the world of 3D printing, I understand the importance of post-processing techniques to enhance the quality and aesthetics of printed objects. In this article, I will guide you through various post-processing techniques that can take your 3D prints to the next level. From sanding and polishing to painting and coloring, we will explore the possibilities of transforming raw 3D prints into finished masterpieces. So, let’s dive in!

Sanding, Polishing, and Smoothing 3D Printed Surfaces
👉 Want smoother prints and better results right from the start?
Make sure you’re using the right tools and setup here:
👉 Improve Your 3D Print Finishing Results:
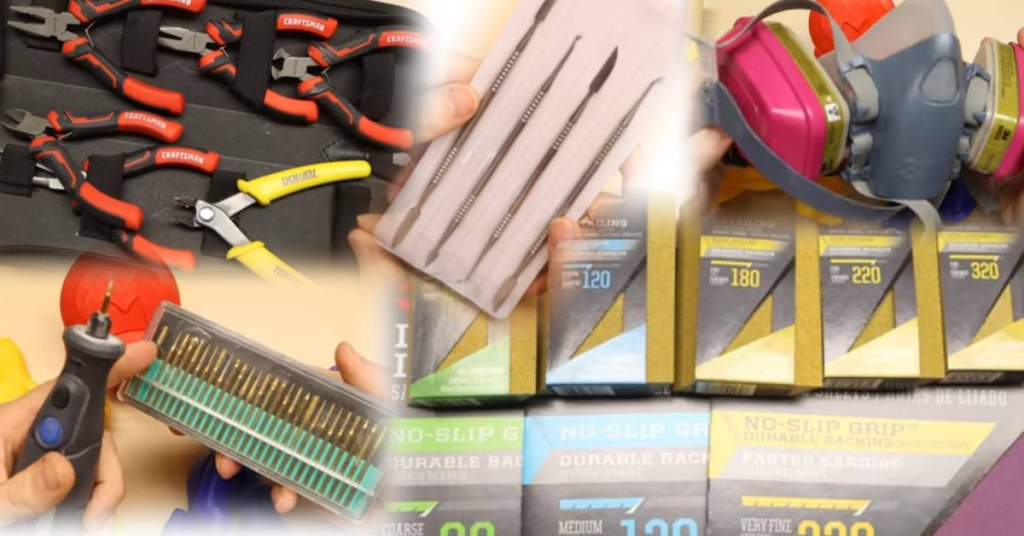
Precision Flush Cutters
3D Print Sanding & Finishing Kit
Rotary Tool for Post-Processing
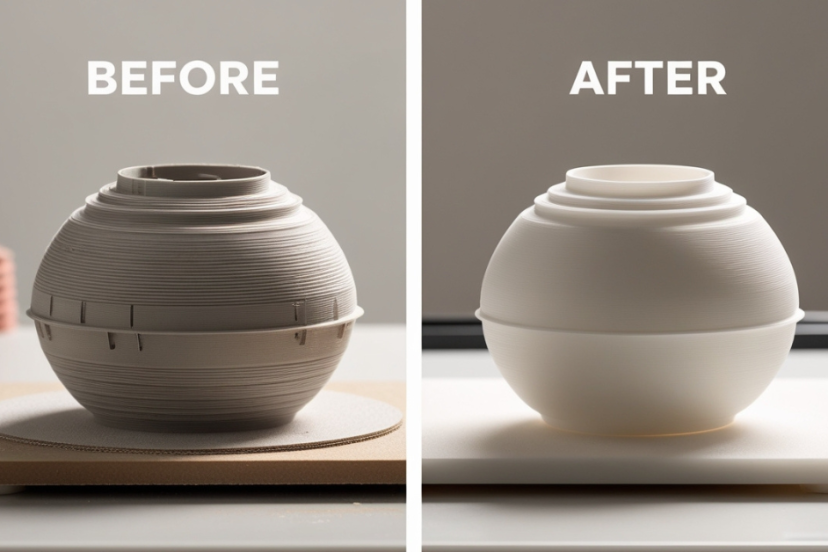
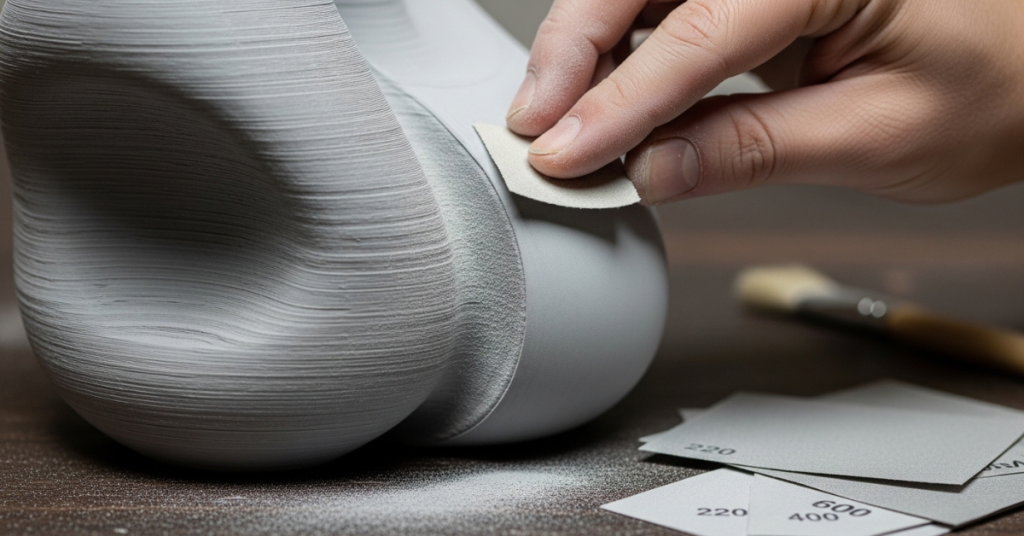
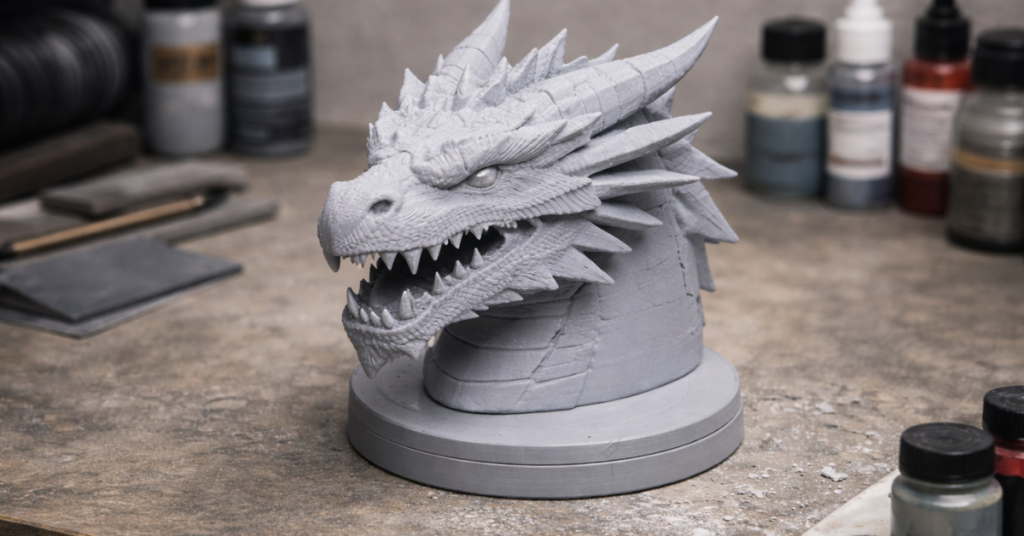
When it comes to achieving a professional look for your 3D prints, surface finish plays a crucial role. Sanding, polishing, and smoothing techniques help to eliminate layer lines and imperfections, resulting in a smooth and refined surface. By investing time and effort into this post-processing step, you can significantly improve the overall quality of your prints.
To begin, start with a low-grit sandpaper (around 200-400 grit) to remove prominent layer lines and rough edges. Gradually work your way up to higher grits (800-2000 grit) for finer sanding. Consider using sanding blocks or tools to ensure even and consistent sanding across the surface. Once satisfied with the smoothness, you can proceed to polish the print using fine-grit sandpaper or specialized polishing compounds. This step helps to further refine the surface and bring out a glossy finish.
👉 A dedicated sanding and finishing kit can make post-processing faster and more consistent.
Using the right tools helps remove layer lines without damaging fine details:
👉 Check 3D Print Finishing Kit on Amazon
The benefits of sanding, polishing, and smoothing go beyond aesthetics. Smooth surfaces reduce friction and allow for better functionality, especially in moving parts. They also provide a solid foundation for painting and other post-processing techniques. So, take the time to sand and polish your prints, and you’ll be amazed at the transformation.
Painting and Coloring Techniques for Enhanced Aesthetics
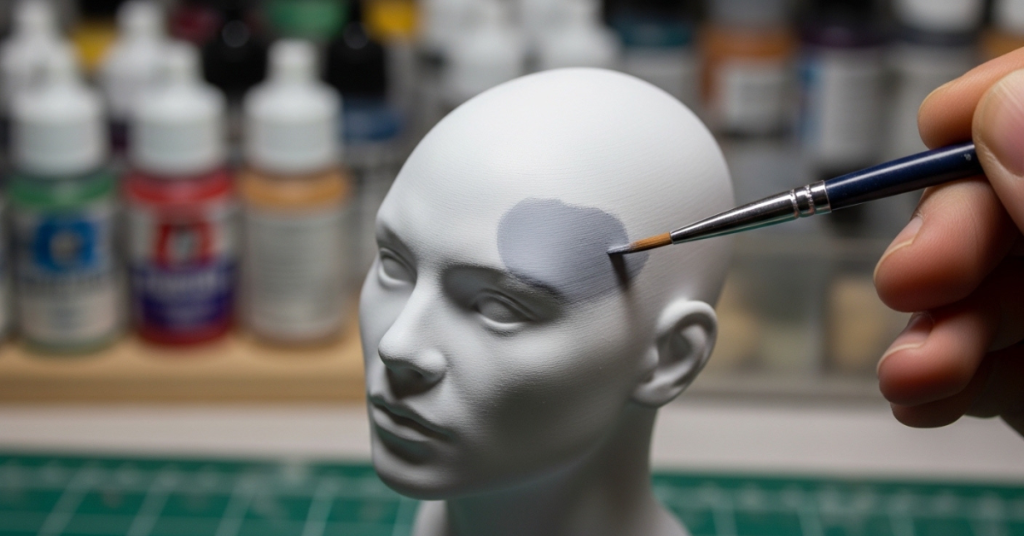
Adding color to your 3D prints opens up a world of possibilities for customization and visual appeal. Painting and coloring techniques allow you to infuse personality and vibrancy into your creations. Whether you want to replicate realistic textures or create unique artistic designs, the right approach to painting can make a significant difference.
Before painting, it’s essential to prepare the surface properly. Start by cleaning the print to remove any dust or debris. Depending on the material, you may need to apply a primer to enhance paint adhesion. Acrylic paints are commonly used for 3D prints due to their versatility, fast-drying properties, and wide range of colors. For more advanced results, airbrushing techniques can create smooth gradients and complex patterns.
If you prefer a more natural look, there are coloring techniques available specifically for filament-based prints. These techniques involve dyeing the filament before printing, resulting in prints with vibrant colors that are embedded throughout the object.
Experimentation is key when it comes to painting and coloring. Don’t be afraid to mix colors, use stencils, or incorporate different techniques to achieve the desired results. Let your creativity shine!
Adding Post-Print Inserts, Threaded Inserts, or Magnets
Sometimes, 3D prints require additional functionality beyond what the printer can achieve alone. That’s where post-print inserts come into play. By adding inserts, such as threaded inserts or magnets, you can expand the capabilities of your prints and create more versatile objects.
Threaded inserts provide a means to securely fasten components or join multiple parts together. They allow you to create sturdy connections and enable disassembly when needed. To add threaded inserts, simply print the object with holes at the desired locations, then insert the threaded inserts using a heated insert tool or a soldering iron. This technique is particularly useful for creating enclosures, robotics projects, or any application where assembly and disassembly are required.
Magnets are another excellent option for adding functionality to your 3D prints. By embedding magnets during the printing process, you can create objects with magnetic closures, detachable parts, or even levitation effects. This technique is perfect for creating innovative designs or functional prototypes.
The possibilities are endless when it comes to post-print inserts. Choose the right type of insert for your specific needs, and you’ll unlock a new level of functionality in your 3D prints.
Applying Surface Finishes like Clear Coats or Varnishes
If you’re aiming for a professional and polished look, applying surface finishes such as clear coats or varnishes is a must. Surface finishes not only provide an extra layer of protection but also enhance the visual appeal of your prints.
Clear coats and varnishes come in different formulations, including glossy, satin, and matte finishes. These finishes can help to smooth out any remaining imperfections, add depth to the color, and protect the print from scratches or UV damage. When applying the surface finish, ensure that the print is clean and free from dust particles. Apply thin, even coats and allow sufficient drying time between each layer. Multiple layers may be necessary to achieve the desired effect.
When using clear coats or varnishes, it’s essential to consider the specific material of your 3D print. Some finishes work better with certain materials, so be sure to read the manufacturer’s recommendations. Additionally, always test the finish on a small, inconspicuous area of the print to ensure compatibility and desired results.
By applying surface finishes, you can elevate the quality and aesthetics of your 3D prints, giving them a professional finish that rivals commercially manufactured products.
Joining or Assembling Multiple Printed Parts
3D printing allows for the creation of complex objects by printing individual parts and assembling them together. Joining multiple printed parts not only expands the possibilities of what you can create but also enables the production of larger objects that may exceed the build volume of your printer.
To successfully join or assemble multiple printed parts, it’s crucial to plan ahead. Ensure that the parts have precise alignment features or mating surfaces that allow for accurate assembly. Depending on the design, you may need to use adhesive, screws, or other mechanical fasteners to secure the parts together. Consider the strength requirements of the final object and choose appropriate joining methods accordingly.
👉 Pro Tip: Accurate measurements are key when assembling multiple printed parts.
👉 Use a digital caliper to ensure proper fit and alignment:
👉 Check Digital Caliper on Amazon
When designing for assembly, it’s essential to take into account tolerances and clearance between parts. Leaving enough space for easy assembly and ensuring structural integrity are key factors to consider. Iterative testing and adjustment may be necessary to achieve a perfect fit.
By utilizing the ability to join or assemble multiple printed parts, you can create larger and more intricate objects that showcase the full potential of 3D printing technology.
Removing Support Structures and Post-Print Clean-up
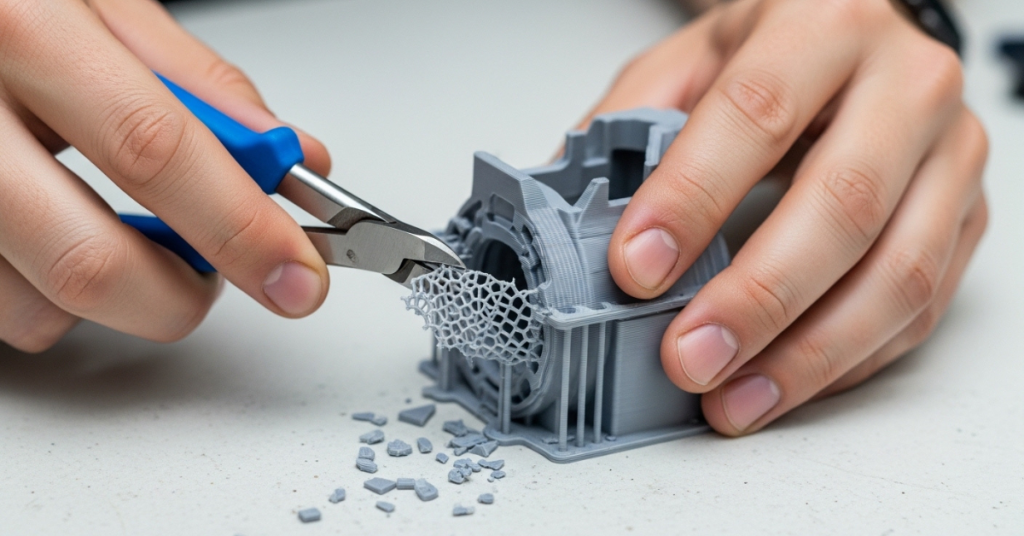
Support structures play a crucial role in 3D printing, providing stability and shape retention during the printing process. However, once the print is complete, removing these support structures is necessary to achieve the desired final result.
Removing support structures requires careful attention to avoid damaging the print. Depending on the material used and the complexity of the design, different techniques can be employed. For filament-based prints, you can use pliers, tweezers, or flush cutters to carefully remove the supports. For resin prints, you may need to rinse the print in a cleaning solution and use brushes or air to remove any residual support material.
Post-print clean-up goes beyond support removal. It involves inspecting the print for any imperfections, such as stringing, blobs, or artifacts, and addressing them accordingly. This may include additional sanding, polishing, or applying surface finishes to achieve the desired quality.
Proper post-print clean-up ensures that your 3D prints are free from unwanted residues, smooth, and ready to be showcased or used.
👉 Clean support removal is much easier with the right precision tools:
Flush cutters for cleaner support removal
Rotary tool for smoothing rough edges and cleanup
👉 Ready to take your 3D prints from rough to professional-quality?
The right tools can help you improve finish, fit, and overall results.
👉 Explore the exact tools and gear we recommend here:
👉 Upgrade Your Post-Processing Workflow:
Rotary Tool for Smoothing and Cleanup
Sanding & Finishing Tool Kit
Precision Flush Cutters for Support Removal
Conclusion
Post-processing techniques are essential for taking your 3D prints to the next level. By employing techniques such as sanding, polishing, painting, adding inserts, applying surface finishes, joining parts, and post-print clean-up, you can elevate the quality, aesthetics, and functionality of your prints. Each technique offers unique benefits and opens up endless possibilities for customization and creativity.
Remember, post-processing requires patience, practice, and experimentation. Don’t be afraid to try new techniques or combine them to achieve the desired results. With time and effort, you’ll master the art of post-processing and create stunning 3D prints that captivate and inspire.
FAQs
- Do I need to post-process all my 3D prints?
Not necessarily. The need for post-processing depends on the intended purpose and desired outcome of your prints. Functional prototypes may require less post-processing compared to objects meant for display or aesthetic purposes. - Can I paint flexible filament prints?
Yes, flexible filament prints can be painted. However, keep in mind that the flexibility of the material may affect the longevity of the paint job. Consider using paints specifically designed for flexible materials or opt for coloring techniques suitable for the specific filament type. - How long does it take for surface finishes to dry?
Drying times for surface finishes vary depending on the type of finish and environmental conditions. It’s important to follow the manufacturer’s instructions and allow sufficient drying time between coats. Generally, it can take a few hours to several days for the finish to fully cure. - Can I use any type of adhesive to join printed parts together?
The choice of adhesive depends on the material of your printed parts. Some adhesives work better with specific materials. It’s recommended to choose adhesives that are compatible with the materials you’re using and provide sufficient bonding strength. - How can I remove support structures without damaging the print?
Careful and precise removal is key to avoid damaging the print. Use appropriate tools such as pliers, tweezers, or flush cutters to gently remove support structures. Take your time and work slowly, ensuring that you don’t apply excessive force that could cause unintended damage.