Print Quality Troubleshooting
As a passionate 3D printing enthusiast, I understand the frustration that can arise when encountering print quality issues. Thankfully, many common problems can be resolved with a little troubleshooting and adjustment. In this article, I will guide you through the process of various print quality troubleshooting issues and provide practical suggestions to improve your 3D prints. Let’s dive in!
Common Print Quality Issues: Stringing, Warping, and Layer Shifting
👉 Many print quality problems can be traced back to unstable temperatures and inconsistent printing environments.
👉 Check 3D Printer Enclosure on Amazon
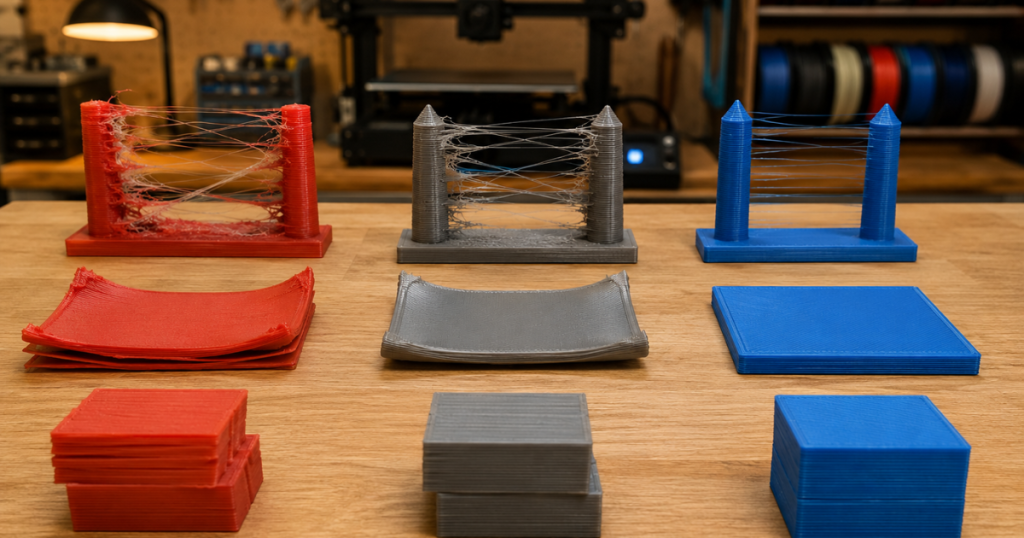
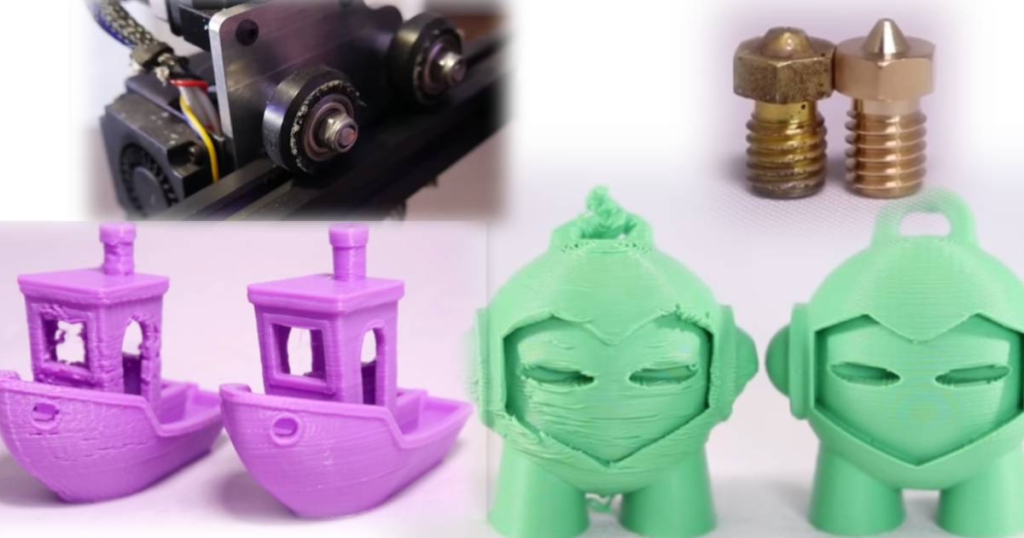
When it comes to 3D printing, there are several common print quality troubleshooting issues that can affect the outcome of your prints. Stringing occurs when thin strands of filament are left behind between different parts of the print, leading to unsightly results. Warping refers to the distortion or lifting of the print from the print bed during the printing process. Layer shifting, on the other hand, happens when the layers of the print are misaligned, resulting in a skewed object.
To overcome stringing, adjusting retraction settings in your slicer software can significantly reduce the occurrence of this issue. By retracting the filament slightly when moving between different parts of the print, you can prevent unwanted stringing and achieve cleaner prints. Additionally, ensuring that the printing temperature is optimized for the filament you’re using can also minimize stringing.
To tackle warping, proper bed adhesion is crucial. Make sure your print bed is clean and level, and consider using a suitable adhesive such as a heated bed or a specialized print surface. If warping persists, enclosing the printer or using a build enclosure can help maintain a more stable temperature, reducing the chances of warping.
Layer shifting can be a frustrating issue, but it can often be resolved by addressing mechanical and software-related factors. Check that the belts and pulleys in your printer are properly tensioned and that there are no obstructions hindering smooth movements. Furthermore, double-check the stepper motor drivers and ensure they are correctly calibrated. Additionally, software glitches can sometimes cause layer shifting, so keeping your firmware and slicer software up to date is advisable.
Adjusting Slicer Settings to Improve Print Quality
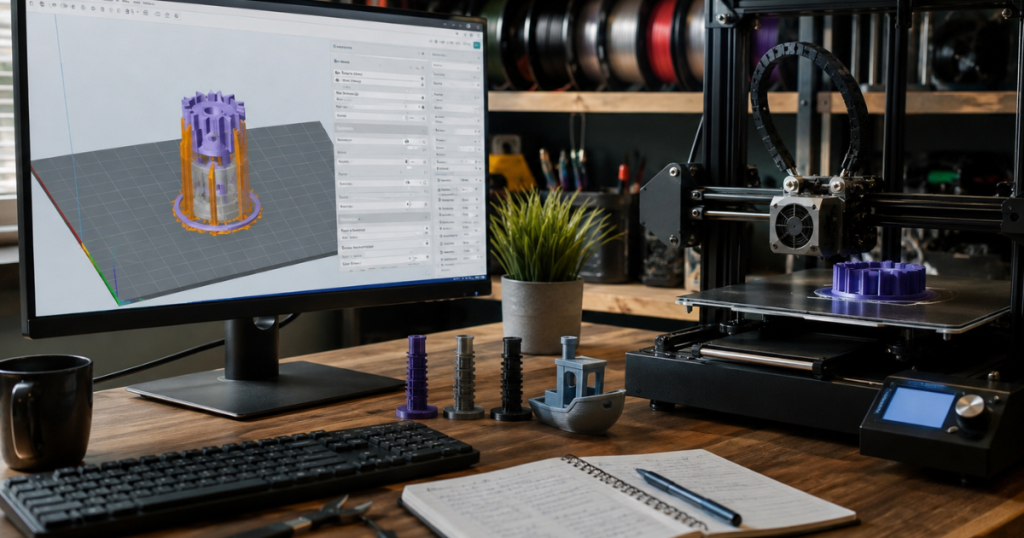
The slicer software plays a vital role in translating your 3D model into instructions for your printer. By optimizing the slicer settings, you can achieve better print quality. Start by adjusting the layer height to strike the right balance between resolution and printing speed. Smaller layer heights provide finer details but may increase printing time.
Next, pay attention to the print speed. While faster printing can save time, it can also impact the overall print quality. Experiment with different speeds to find the sweet spot for your specific printer and filament combination.
Temperature settings are another critical factor. Each filament type has an ideal temperature range for printing. Deviating from this range can lead to issues such as under or over-extrusion. Take note of the manufacturer’s recommendations for the filament you’re using and make adjustments accordingly.
Proper Bed Leveling and Nozzle Height Adjustment
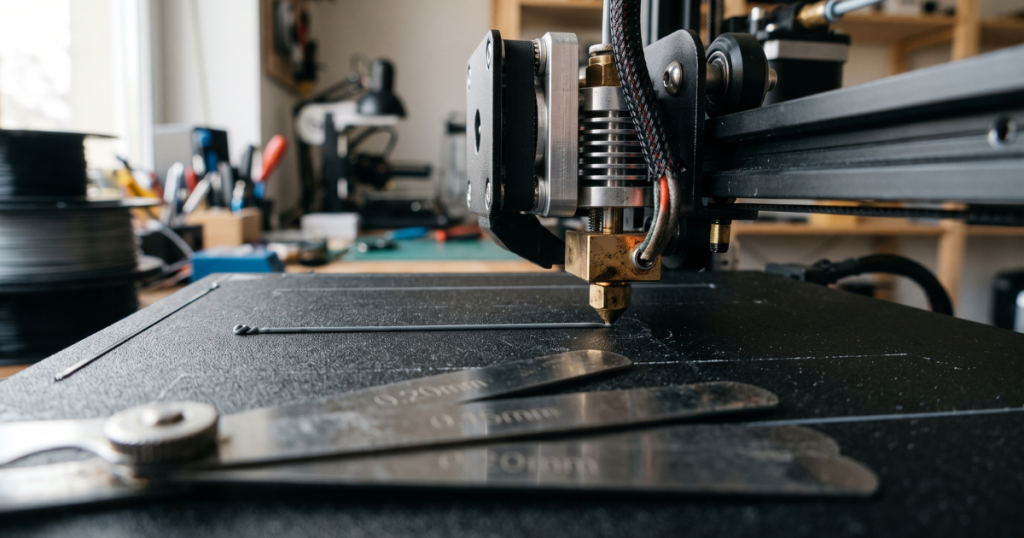
Achieving proper bed leveling and nozzle height adjustment is essential for consistent print quality. An uneven bed can cause the print to be too close or too far from the nozzle, resulting in uneven extrusion and poor adhesion.
Start by ensuring that your printer’s bed is properly leveled. Most printers offer manual or automatic bed leveling options. Follow the manufacturer’s instructions to level the bed accurately. Additionally, periodically check and recalibrate the bed as it may shift over time due to vibrations or use.
Nozzle height adjustment is equally important. The nozzle should be at the optimal distance from the bed, allowing for proper filament deposition. Adjust the nozzle height according to the recommended specifications provided by the printer manufacturer. Fine-tuning this distance can significantly improve print quality.
Troubleshooting Extrusion Problems and Under/Over-Extrusion
👉 Accurate measurements make extrusion calibration and troubleshooting significantly easier.
👉 Check Digital Caliper on Amazon
Extrusion problems can manifest in various ways, such as inconsistent flow or clogging. Under-extrusion occurs when the printer fails to push out enough filament, resulting in weak prints or gaps between layers. Over-extrusion, on the other hand, leads to excess material being deposited, causing rough surfaces or even clogs.
To troubleshoot under-extrusion, start by checking the filament path for any obstructions or knots. Ensure that the filament spool is correctly mounted and that it can rotate freely. Additionally, examine the extruder gear for any debris that might impede filament feeding. If the issue persists, adjusting the extrusion multiplier in your slicer settings can help compensate for under-extrusion.
For over-extrusion, check that the nozzle size is properly set in your slicer software. Incorrectly entering the nozzle diameter can result in inaccurate extrusion calculations. Additionally, calibrating the extruder steps per millimeter can improve extrusion accuracy.
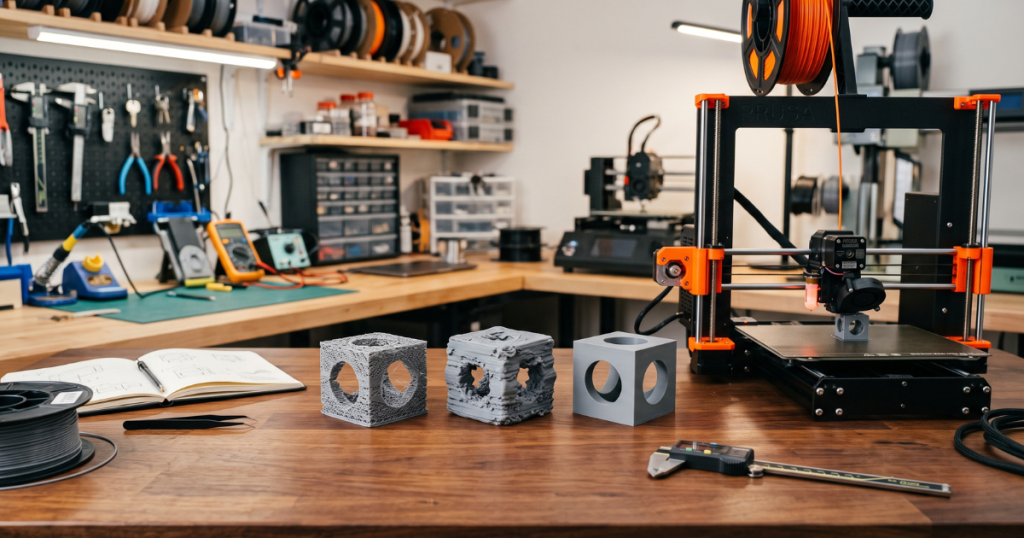
Resolving Issues with Supports and Overhangs
Support structures are often required for prints with overhangs or intricate designs. However, improper support settings can lead to poor print quality or difficulty in removing the supports after printing.
When using support structures, ensure that the support density is appropriate. Higher densities provide better support but can be challenging to remove. Experiment with different settings to strike the right balance for your specific print.
Furthermore, adjusting the support placement can also improve the overall print quality. Optimize the support placement to minimize contact with visible surfaces and reduce the need for extensive post-processing.
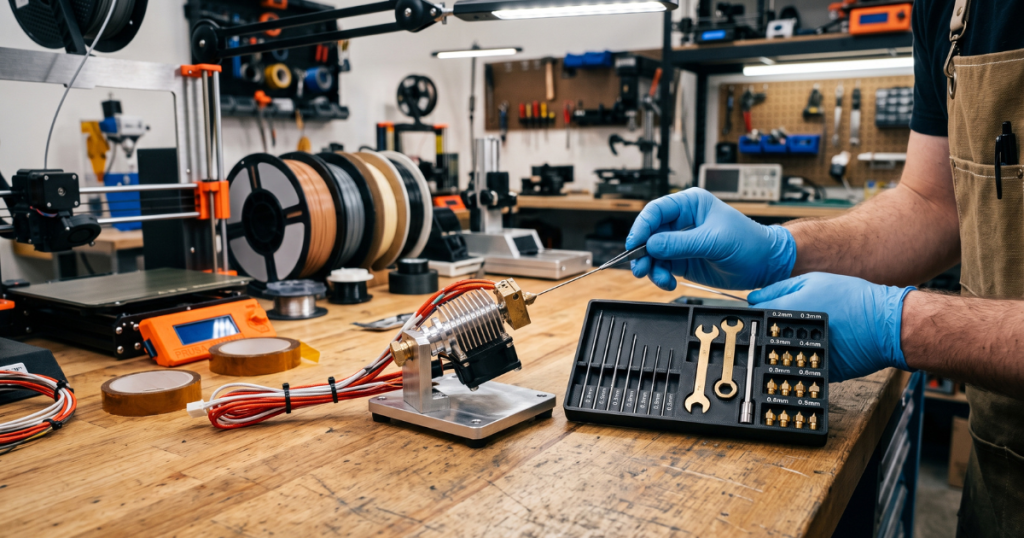
Identifying and Fixing Nozzle Clogs and Filament Jams
👉 Improve Print Quality and Reduce Common Failures:
Nozzle Cleaning Kit
Digital Caliper
3D Printer Enclosure
Nozzle clogs and filament jams can bring your 3D printing process to a halt. These issues can occur due to various reasons, such as debris in the filament, improper filament loading, or incorrect temperature settings.
To tackle nozzle clogs, start by heating the nozzle to the recommended printing temperature for the filament you’re using. Once heated, carefully remove any accumulated filament residue or debris using a fine needle or specialized cleaning tools. Regularly cleaning the nozzle helps prevent clogs and ensures smooth extrusion.
Filament jams can often be resolved by examining the filament path and ensuring there are no tangles or knots. Additionally, check the extruder gear for any filament residue buildup that might impede the filament’s movement. Clearing any obstructions and ensuring proper
filament feeding can help prevent jams.
Conclusion
By understanding and addressing common print quality troubleshooting issues, you can significantly improve the outcome of your 3D prints. Remember to adjust slicer settings, ensure proper bed leveling and nozzle height adjustment, troubleshoot extrusion problems, optimize support structures, and handle nozzle clogs and filament jams promptly. With these troubleshooting techniques in your arsenal, you’ll be able to achieve high-quality 3D prints consistently.
🔧 Upgrade Your Print Quality Troubleshooting Setup:
Digital Caliper
Nozzle Cleaning Kit
3D Printer Enclosure
FAQs
1: How can I prevent stringing in my 3D prints?
Stringing in 3D prints can be minimized by adjusting retraction settings in your slicer software. Retracting the filament slightly between different parts of the print helps prevent stringing and ensures cleaner prints.
2: Why is my print warping?
Print warping can occur due to factors such as inadequate bed adhesion or temperature fluctuations. Ensure that your print bed is clean, level, and properly calibrated. Using appropriate adhesives or considering a heated bed or print surface can also help prevent warping.
3: What causes layer shifting in 3D prints?
Layer shifting can be caused by mechanical issues, such as loose belts or obstructions, or software glitches. Check that all mechanical components are properly tightened and calibrated. Keep your firmware and slicer software up to date to minimize the chances of layer shifting.
4: How do I adjust slicer settings for better print quality?
To adjust slicer settings for better print quality, focus on parameters such as layer height, print speed, and temperature. Experiment with different settings to find the optimal balance for your specific printer and filament combination.
5: How can I fix nozzle clogs in my 3D printer?
To fix nozzle clogs, heat the nozzle to the recommended printing temperature, and carefully remove any accumulated filament residue or debris using a fine needle or specialized cleaning tools. Regular nozzle cleaning helps prevent clogs and ensures smooth extrusion.