What are common 3D printing issues?
3D printing can sometimes result in issues that affect the quality of your prints, the efficiency of the printing process, or even cause print failures. Below are some of the most common 3D printing issues, along with their causes and solutions:
1. Stringing (Oozing)
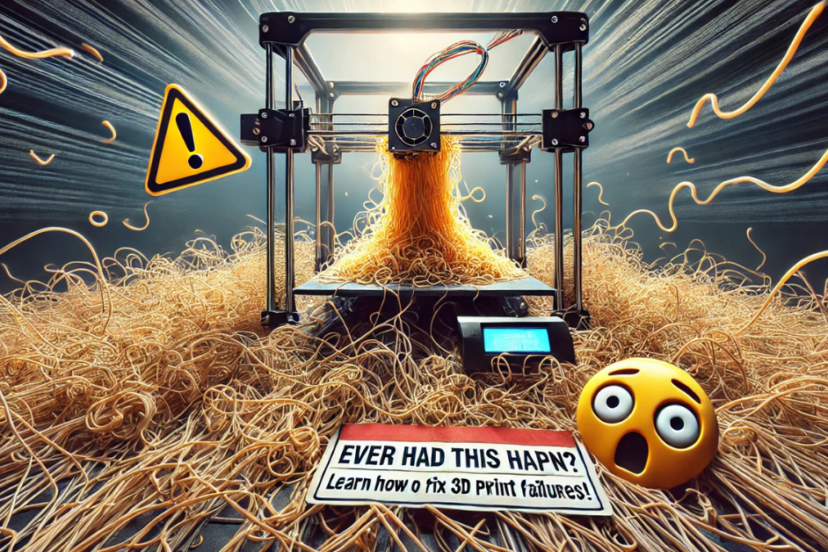
- Issue: Thin strands of filament left behind during travel moves between printed areas, often leading to a “spaghetti-like” appearance.
- Cause: This happens when the extruder continues to extrude filament during non-printing movements.
- Solution:
- Increase retraction distance and retraction speed.
- Lower the print temperature slightly.
- Enable coasting or wipe nozzle (in slicer settings).
- Increase travel speed to reduce the time for the nozzle to travel between areas.
2. Under-Extrusion
- Issue: Not enough filament is being extruded, leading to gaps or thin, weak layers in the print.
- Cause: Under-extrusion can be caused by a clogged nozzle, incorrect extrusion settings, or insufficient filament supply.
- Solution:
- Increase extruder temperature.
- Ensure the nozzle is clean and free of obstructions.
- Check the filament diameter and ensure it’s consistent.
- Calibrate the extruder steps/mm to ensure the correct amount of filament is fed.
3. Over-Extrusion
- Issue: Too much filament is being extruded, causing blobs, inconsistent layers, or the print to appear “squished.”
- Cause: Incorrect slicer settings for flow rate or extrusion multiplier.
- Solution:
- Lower the extruder temperature if it’s too high.
- Reduce the flow rate (also known as extrusion multiplier) in your slicer.
- Adjust the layer height to prevent over-extrusion on each layer.
4. Warping
- Issue: The edges of a print lift off the print bed, usually on the corners, causing the print to become unstable.
- Cause: Warping is caused by uneven cooling, temperature fluctuations, or improper bed adhesion.
- Solution:
- Use a heated bed and ensure it’s set to the proper temperature for the filament.
- Print with a brim or raft to increase the adhesion area.
- Ensure the bed is level and clean.
- Use an enclosure to maintain a consistent temperature.
5. Poor Bed Adhesion
- Issue: The print fails to stick to the bed, causing detachment during the print or a bad first layer.
- Cause: Incorrect bed leveling, improper first layer settings, or contamination on the bed.
- Solution:
- Level the print bed properly.
- Use adhesion aids like glue sticks, hairspray, or PEI sheets for better bonding.
- Set the first layer speed slower (50% of regular speed) and increase the first layer height.
- Use a heated bed to help improve adhesion.
6. Layer Shifting
- Issue: Layers of the print shift, resulting in misaligned prints or visible horizontal lines.
- Cause: This can happen due to loose belts, motor issues, or incorrect print settings.
- Solution:
- Tighten belts and ensure all components are secure.
- Check stepper motors to make sure they are functioning correctly.
- Reduce the print speed to avoid excessive vibrations or inaccuracies during printing.
7. Nozzle Clogging
- Issue: The extruder nozzle becomes blocked, preventing proper filament flow.
- Cause: Filament debris, burned filament, or using low-quality filament can cause clogging.
- Solution:
- Regularly clean the nozzle using a cold pull method or a cleaning needle.
- Ensure proper filament storage to avoid moisture absorption and degradation.
- Use high-quality filament to reduce the risk of clogging.
8. Z-Axis Issues (Layer Misalignment or “Z-Banding”)
- Issue: Layer misalignment or visible horizontal lines along the Z-axis.
- Cause: This can be caused by poor bed leveling, misalignment of the Z-axis, or improper stepper motor function.
- Solution:
- Level the bed and check for Z-offset issues.
- Ensure smooth Z-axis movement and lubricate rails as needed.
- Use a slow first layer speed to improve layer adhesion.
9. Elephant’s Foot (First Layer Over-Extrusion)
- Issue: The base layers of a print are wider than the upper layers, creating an “elephant’s foot” effect.
- Cause: This happens when the first layer is extruded with too much material.
- Solution:
- Lower the first layer height slightly.
- Reduce the extruder temperature for the first layer to prevent over-extrusion.
- Use slower print speeds for the first few layers.
10. Print Detachment (During Printing)
- Issue: The print detaches from the bed during the print, causing print failure.
- Cause: Poor first layer adhesion, insufficient bed temperature, or material that’s too prone to warping.
- Solution:
- Ensure a properly leveled bed and good first-layer adhesion.
- Use a brim or raft for extra adhesion, especially with materials like ABS.
- Make sure the bed is clean and free of debris.
- Increase bed temperature and use adhesion aids for better adhesion.
11. Stringing in TPU
- Issue: Thin, unwanted strands of filament are left between printed parts.
- Cause: TPU is flexible, and without proper retraction settings, it can ooze out during travel moves.
- Solution:
- Increase retraction distance and speed (1mm to 2mm for TPU).
- Lower the print temperature slightly (around 210°C to 230°C).
- Enable coasting or wipe nozzle settings in your slicer.
- Increase travel speed to reduce travel time between parts.
12. Bubbling or Popping Noises (Moisture in Filament)
- Issue: You may hear popping or bubbling sounds during printing if your filament has absorbed moisture.
- Cause: Filament absorbs moisture from the air, which vaporizes when heated and causes these noises.
- Solution:
- Dry your filament before printing, either using a filament dryer, oven, or food dehydrator.
- Store filament in airtight containers with desiccants to prevent moisture absorption.
13. Overhangs and Sagging
- Issue: Printed overhangs sag or collapse due to insufficient support.
- Cause: Overhangs exceed the filament’s ability to stay supported without support material.
- Solution:
- Add supports for overhangs using the slicer’s support structures.
- Reduce the overhang angle in your design (aim for less than 45 degrees if possible).
- Increase cooling (fan speeds) to help the filament harden quickly.
Summary of Common 3D Printing Issues and Solutions:
- Stringing: Adjust retraction settings and temperature.
- Under-Extrusion: Clean the nozzle, calibrate extruder, and check filament quality.
- Over-Extrusion: Adjust flow rate and temperature.
- Warping: Use heated bed, adhesion aids, and print with a raft or brim.
- Poor Adhesion: Level the bed, use adhesion aids, and set proper first layer height and speed.
- Layer Shifting: Tighten belts, check motors, and reduce print speed.
- Nozzle Clogging: Clean the nozzle regularly and use quality filament.
- Z-Axis Issues: Level the bed, ensure smooth Z-axis movement, and check stepper motors.
- Elephant’s Foot: Lower first layer height and adjust extrusion settings.
- Print Detachment: Use a heated bed, clean the bed, and use a brim/raft.
- Stringing in TPU: Adjust retraction, temperature, and travel speed.
- Bubbling or Popping: Dry filament before use and store it properly.
- Overhangs and Sagging: Use supports and increase cooling.
By understanding the common issues in 3D printing and knowing how to fix them, you can improve your printing process, reduce failures, and achieve higher-quality results.


