How can I avoid print failures?
Avoiding print failures is essential for maintaining consistent and high-quality 3D prints. Print failures can occur for a variety of reasons, including improper settings, hardware issues, or environmental factors. Below are some of the most common causes of print failures and how to avoid them:
1. Ensure Proper Bed Leveling

- Why It Helps: If the bed isn’t level, the nozzle may be too far from or too close to the bed, causing poor adhesion and layer issues.
- How to Fix:
- Manually level the bed: Use a piece of paper or a leveling tool to check and adjust the bed at different points (corners and center).
- If your printer has auto-bed leveling, ensure it’s calibrated correctly.
- Benefit: Proper bed leveling ensures the nozzle maintains the correct distance from the bed for optimal first-layer adhesion.
👉 Having trouble with prints failing or not sticking properly?
One of the fastest ways to fix common issues is using the right tools from the start.
👉 Check Creality 3D Printer Tool Kit on Amazon
2. Use the Right Print Settings
- Why It Helps: Incorrect print settings like temperature, speed, or layer height can result in poor print quality, warping, or under-extrusion.
- How to Fix:
- Check temperature settings: Ensure the extruder temperature and bed temperature match the filament manufacturer’s recommendations.
- Adjust print speed: If you’re using a new filament, start with slower speeds (20-40mm/s) to ensure quality.
- Set the right layer height: For good adhesion and detail, use 0.2mm to 0.4mm layer height.
- Benefit: Correct settings ensure consistent extrusion, proper adhesion, and high-quality prints.
3. Improve First Layer Adhesion
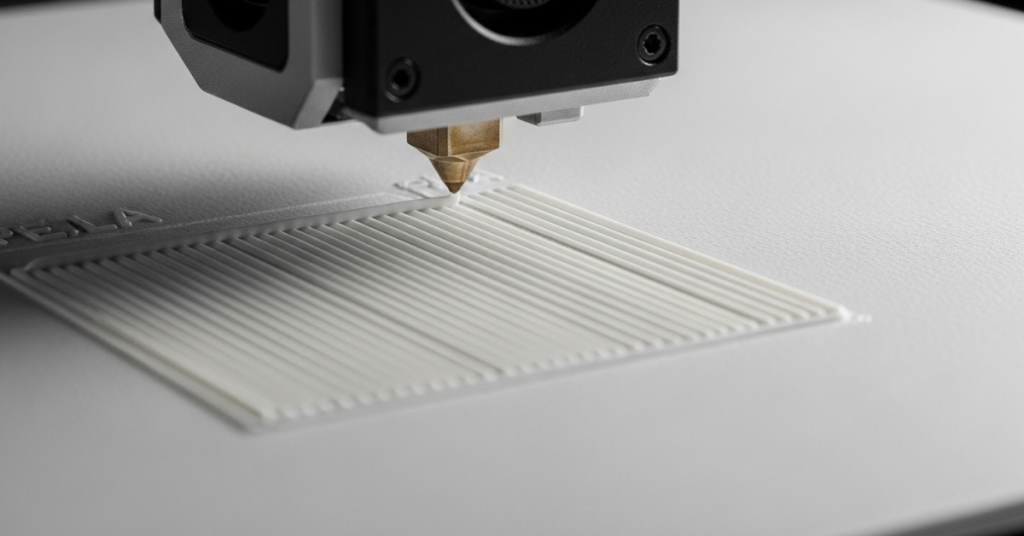
- Why It Helps: A poor first layer can cause prints to fail early in the process, especially when the model detaches from the bed.
- How to Fix:
- Slow down first layer print speed: Set the first layer print speed to 50% of your normal print speed.
- Increase first layer height: Use a slightly higher first layer height (e.g., 0.3mm) for better bed contact.
- Use adhesion aids: Apply glue stick, hairspray, or use a PEI sheet to improve adhesion, especially for materials prone to warping (e.g., ABS, PETG).
- Use a heated bed: Set your heated bed to the recommended temperature for the filament (e.g., 50°C-60°C for PLA, 90°C-110°C for ABS).
- Benefit: A strong first layer ensures the print stays attached to the bed, reducing the chances of warping or detachment.
👉 Pro Tip: Accurate measurements help ensure proper first-layer setup and consistent results.
👉 Use a digital caliper to fine-tune your printer and improve accuracy:
👉 Check Digital Caliper on Amazon
4. Avoid Warping
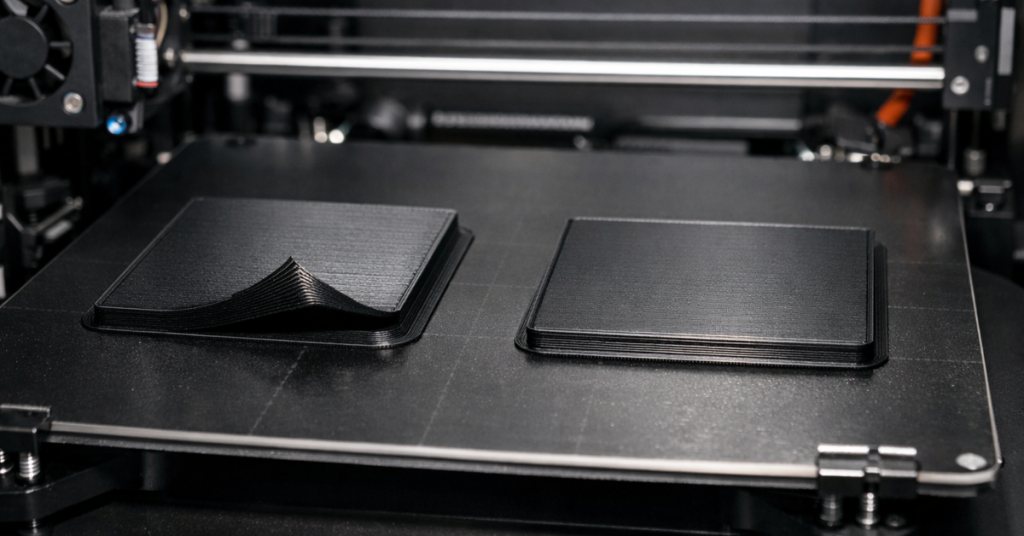
- Why It Helps: Warping occurs when the material cools too quickly, especially on the edges, and pulls away from the print bed.
- How to Fix:
- Use a heated bed: This helps maintain consistent temperature for the first few layers.
- Control environmental temperature: Avoid drafts by using a printer enclosure or printing in a temperature-controlled room.
- Use a brim or raft: A brim increases the first layer’s surface area, helping to keep the print anchored. A raft creates a base layer to provide better adhesion.
- Benefit: These measures help ensure consistent printing without the material lifting off the bed, especially with materials like ABS or PETG.
5. Check Filament Quality
- Why It Helps: Poor-quality or old filament can cause extrusion problems, clogs, and inconsistent prints.
- How to Fix:
- Use high-quality filament from reputable brands.
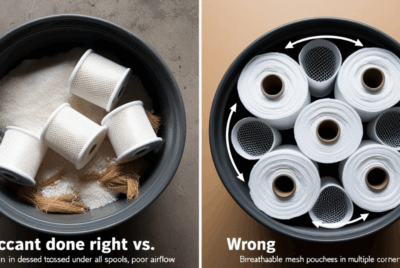
- Store filament properly in airtight bags with desiccants to prevent moisture absorption.
- Dry filament if it has absorbed moisture (using a filament dryer or oven at a low temperature for a few hours).
- Benefit: High-quality, moisture-free filament ensures consistent extrusion and better print quality.
👉 Moisture-damaged filament is one of the most common causes of weak prints and extrusion problems.
Using reliable filament and proper storage can dramatically reduce failures:
SUNLU PLA Filament
Filament storage bags
6. Maintain Your Printer
If your prints look inconsistent or weak, your filament could be the issue.
Switching to a reliable filament like this can instantly improve results:
👉 Check Price on Amazon (SUNLU PLA Filament)
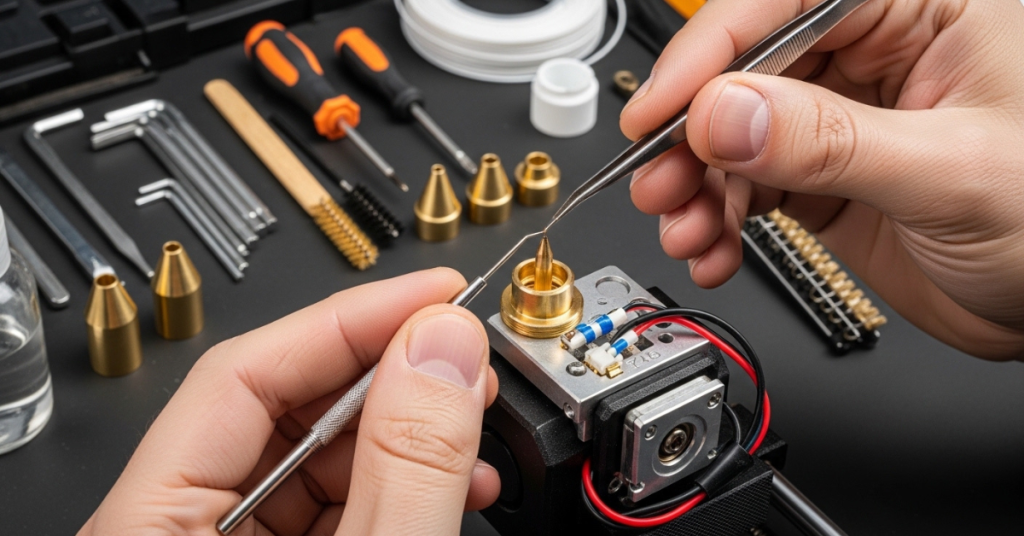
- Why It Helps: Over time, parts of your printer may wear out or get dirty, leading to poor performance and print failures.
- How to Fix:
- Clean the nozzle regularly to prevent clogs or under-extrusion. Perform a cold pull to clear any residue from the nozzle.
- Lubricate moving parts (rails, rods, bearings) to prevent friction-related issues.
- Check belts and motors for tightness and smooth operation. Ensure belts are not loose or too tight, as this can affect the accuracy of the printer.
- Benefit: Regular maintenance ensures your printer operates at its best, reducing the risk of mechanical failures during printing.
👉 Keeping your printer clean and calibrated can prevent many common print issues before they start:
Nozzle cleaning kit for clogs and buildup
Digital caliper for calibration and setup accuracy
7. Avoid Overhangs and Unsupported Areas
If you’re dealing with clogs or uneven extrusion, regular cleaning is essential.
A simple kit like this makes it easy to keep your printer running smoothly:
👉 Check Price on Amazon (Nozzle Cleaning Kit)
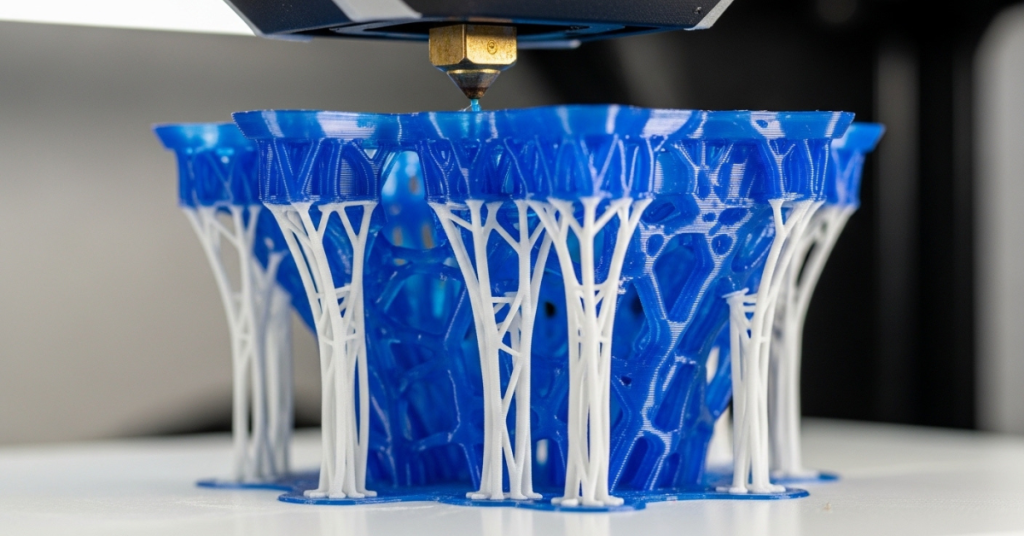
- Why It Helps: Unsupported overhangs can cause print failures because the material has nothing to rest on, leading to sagging or collapse.
- How to Fix:
- Add supports: Use the slicer’s support structures for overhangs or areas that need extra support.
- Angle your model: Try to orient your model in a way that minimizes overhangs and requires less support.
- Benefit: Supports or proper model orientation help ensure that complex geometries print correctly without sagging or failing.
8. Monitor Print Progress Regularly
- Why It Helps: Sometimes, early-stage issues can be caught and fixed before the print fails completely.
- How to Fix:
- Check the first few layers carefully to ensure good adhesion.
- Observe the print regularly to spot issues such as clogs, under-extrusion, or warping early on.
- Benefit: Early intervention can save time and prevent the print from wasting filament.
9. Use Proper Print Settings for Your Material
- Why It Helps: Different materials have different requirements for printing, so using the wrong settings can result in print failures.
- How to Fix:
- PLA: Typically prints at 190-210°C for the extruder and 50-60°C for the bed.
- ABS: Requires 220-250°C for the extruder and 90-110°C for the bed, plus an enclosure to prevent drafts.
- PETG: Prints at 220-250°C for the extruder and 70-80°C for the bed.
- Benefit: Using the right settings for your material ensures successful prints and avoids issues like under-extrusion or warping.
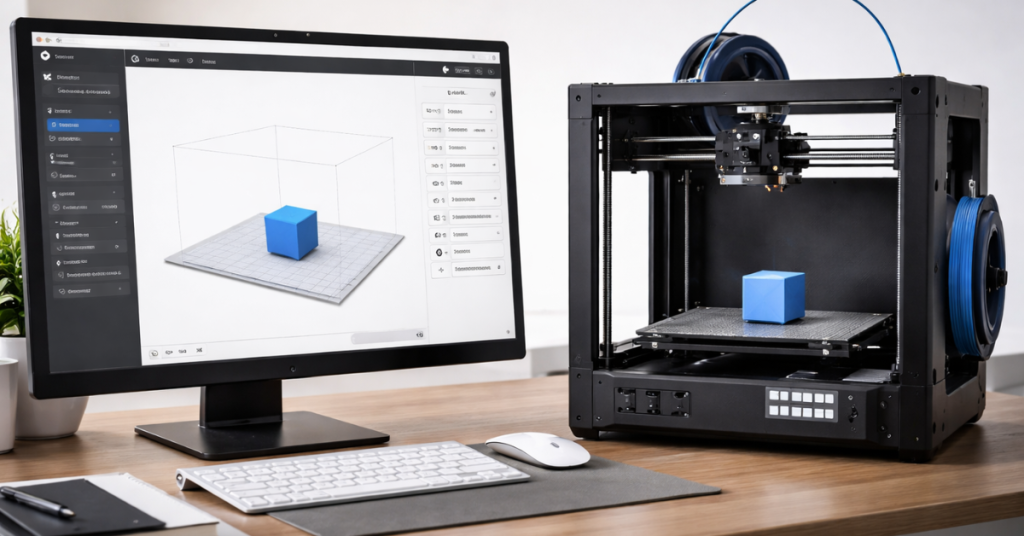
10. Check Slicer Settings
- Why It Helps: Incorrect slicer settings, such as layer height, extrusion width, or print speed, can lead to inconsistent prints and failures.
- How to Fix:
- Use default profiles for your filament in the slicer.
- Adjust layer height to match your nozzle size (e.g., 0.2mm for a standard 0.4mm nozzle).
- Check the extrusion multiplier (flow rate) to ensure it’s set correctly for your filament.
- Benefit: Proper slicer settings ensure better print quality and minimize the chances of printing issues.
11. Avoid Overheating the Extruder
- Why It Helps: Printing at too high of a temperature can cause issues like over-extrusion, oozing, or even clogging.
- How to Fix:
- Stick to the recommended temperature range for the filament you’re using.
- Lower the temperature if you notice excess material oozing or if the filament is too liquid during printing.
- Benefit: Proper temperature control prevents issues like stringing, blobs, and clogs.

👉 Ready to eliminate print failures and get consistent, high-quality results?
The right tools can help you improve accuracy, reduce errors, and print with confidence.
👉 Explore the exact tools and gear we recommend here:
👉 Build a More Reliable 3D Printing Setup:
Nozzle Cleaning Kit for Maintenance
Creality 3D Printer Tool Kit
Precision Digital Caliper
Summary:
To avoid print failures:
- Level your bed and calibrate your printer.
- Optimize print settings like temperature, speed, and layer height.
- Improve first layer adhesion with a heated bed, slower speeds, and adhesion aids.
- Maintain your printer, clean the nozzle, and check for wear.
- Use high-quality filament and store it properly to avoid moisture-related issues.
- Monitor prints regularly and adjust settings as necessary.
- Add supports for overhangs and orient your models to reduce unsupported areas.
By following these steps, you can reduce the likelihood of print failures and achieve more successful 3D prints.